


If you work with technology in any capacity, you’ll keep coming across legacy systems. These systems – both hardware and software – used to be cutting-edge in their time. Now, they are outdated. Where they are still in use, they can cause a variety of issues.
IDE hard drives are one such legacy system. While these drives are largely obsolete, many organizations still use them as part of established hardware builds.
In this article, we’ll walk you through what these drives actually are, and how you can best handle them.

What are IDE Hard Drives?
IDE stands for Integrated Drive Electronics. The system was originally developed in the 80s by Western Digital and Compaq. IDE’s purpose was to connect a bus on a computer’s motherboard directly to its disk storage devices. In 1986, it became the standard interface for IBM computers.
Four years later, in 1990, the American National Standards Institute defined IDE as a standard technology and renamed it Advanced Technology Attachment (ATA). Since then, the names IDE and ATA have widely been used interchangeably.
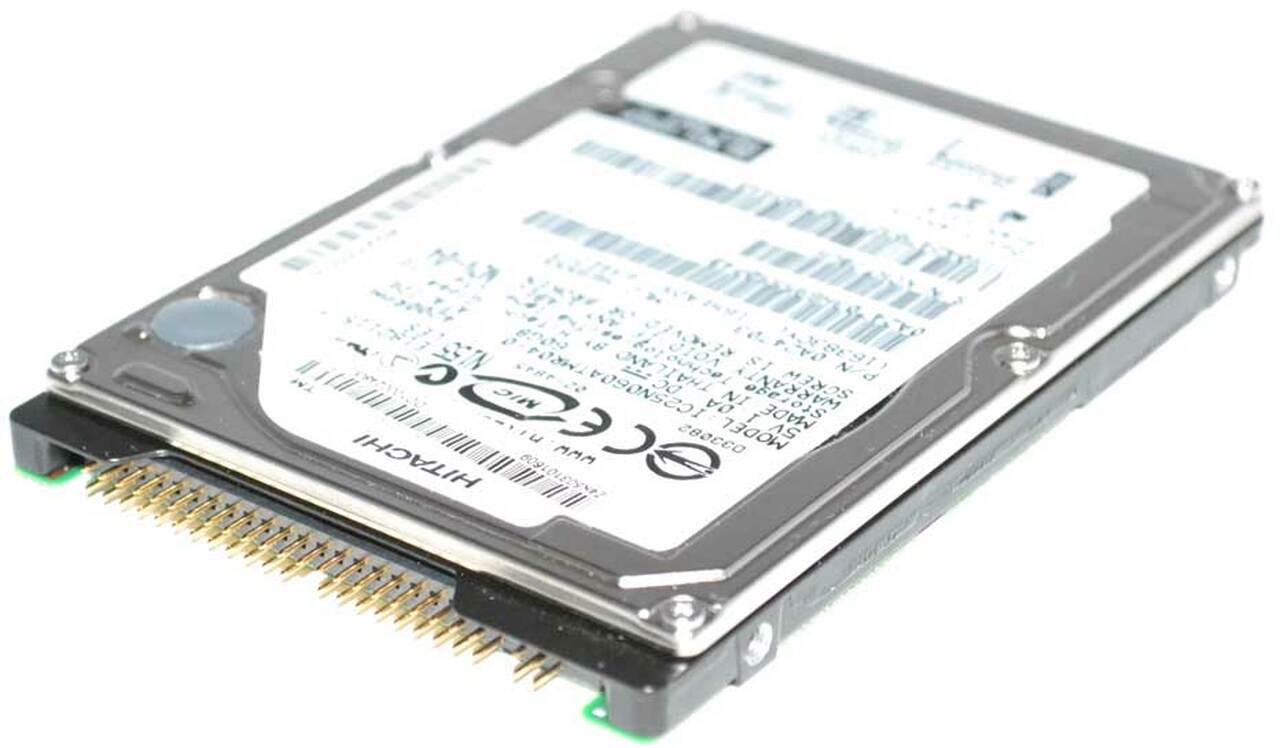
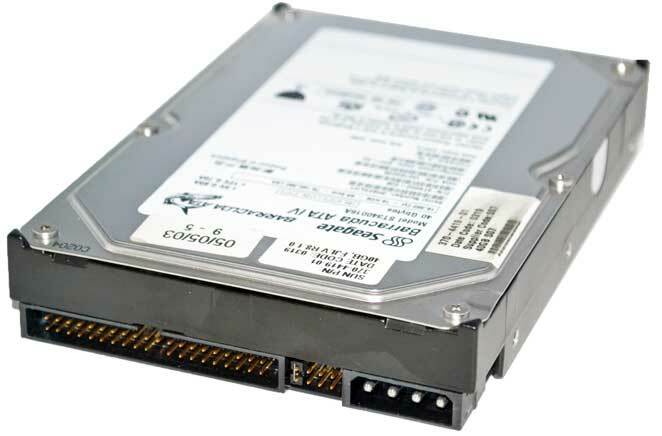
Physically, the IDE interface is a 40-pin socket on a drive. A flat ribbon cable connects it to the computer’s motherboard. Originally, IDE was developed for hard drives (HDDs), but later it was also used for floppy disk, CD, and DVD drives.
Throughout the 90s and early 2000s, IDE was the standard technology for connecting hard drives.
Then, in 2003, Serial ATA (SATA) was introduced. Unlike IDE, SATA uses serial signalling technology to establish an interface. Since IDE/ATA uses parallel signaling technology, it was subsequently also referred to as PATA.
SATA quickly became the dominant technology – at 6 Mb/s, it could transfer data four times faster than PATA (1.5Mb/s).
Consequently, IDE drives stopped being manufactured in 2013.
How to Handle IDE Hard Drives
If you have to work with IDE hard drives in 2021 and beyond, the first step is to understand the connector.
Typically, the connector consists of four elements – the large 40-pin IDE interface on the left, a 4-pin Molex power connector on the right, and jumpers in between. These can be used to configure your priority.

In general, older motherboards have two IDE sockets – the primary IDE (IDE0), and the secondary IDE (IDE1). With a suitable cable, you can connect two devices to each socket. However, you’ll have to assign priority to one of them, the master drive. Master drives are typically the main storage units, with slave drives offering additional storage.
To install an IDE drive, plug the single-connector end of the cable into the motherboard. (Make sure it’s the right way up using the red line on the edge.)
Then, configure drive priority using the jumpers. Depending on the IDE, you can also use Cable Select. To check if this is the case, look up your drive’s part number on sites such as HD Sentinel.
Conclusion
While it’s possible to work with IDE drives nowadays, you should consider upgrading any legacy systems that still use them. SATA technology offers faster data transfer rates as well as lower pricing – and unlike IDE, These drives are still being manufactured.

