


Are you also crazy about patches or logos on your outfit and always wanted to put one on your clothing to express your personality?
Well, patches on the outfit are the best ways to express love for any brand or organization; you can also use them to hide any damage.
If you want to have a personalized and unique patch, why not try to customize it yourself? You can go to GS-JJ.com, a professional online custom patch maker, to learn where to place the patch for a stylish look. And you can design your own logo and add your own text and so on. These custom patches can be used to decorate clothes, hats, pants, and more. So, before you think about throwing away any clothes, consider freshening them up with some patches.
But the main problem comes when you need to iron clothes because ironing an outfit with a logo on it is not an easy thing.
So, do you want to know how to iron these patches? By the way, you can iron these patches simply with the help of irons.
It might be possible that you don’t have enough time to iron those patches every time, or you might don’t always have iron with you. Don’t you worry; in this article, we will discuss something that will ease your life.
We will discuss some methods and all the things other than iron to iron-on-patches.

How to iron-on patches without Iron
You need to follow the given procedures to iron your favorite patches quickly and easily at home.
1. Peel off the sticky sheet
You can use the peel-off adhesive sheet to iron on patches. You need to cut the sheet that is exactly similar to the size and shape of your patch.
Then put it on the patch, peel of the stick, and adjust the patch on your outfit according to your choice.
2. Hair straightener
You can use a hair straightener to iron on the patch easily. But you need to figure out first that if your patch has adhesives backside or just clothing back.
If it has adhesives back then hair straighten easily iron it on your outfit. You just need to press the patch for few seconds or a minute. It will melt the glue and set the patch perfectly on the cloth.
3. Sewing the patch
If your patch doesn’t have any adhesive backside; you can opt for a sewing patch. You just need to put a thread into a needle and simply sew the patch with the cloth.
A fusible web is a thin layer of adhesive. You can also use these to iron on patches. Just simply fix the fusible web on the backside of patches and give it some heat. There you go with your amazing outfit and your favorite patch on it.
4. Velcro Patch
Did you know anything about it?
This kind of patch is easily available in the market as it is handy to put in on. It comes with Velcro tape that is used to fix the patch on the outfit. The tape uses an adhesive to stick on.
That way you can put on the Velcro patch easily.
5. Glues or adhesives
You can also use some kind of adhesives or glue to fix your patches. Apply the gum at the back of your patch and then fix it at your desirable position; press it with your thumb against the cloth for a few seconds and then check if it is fixed perfectly.
6. Pins or needles
If you are in hurry and about to go to a party, dinner, or any kind of event; you can fix your patch with the pin or thin needle from the inside of your cloth so it can’t be visible. It’s a little bit forbidding as it might harm you. That’s why you always get your patches ready beforehand.
7. Adhesive Spray
Here comes exceptional adhesive spray that helps attaching different kinds of stuff on your clothing. You can choose from temporary to permanent sprays according to your choice.
Well, you cannot rely on it completely as it may sometimes have durability issues. After washing the outfit for a few times only, it starts getting faded.

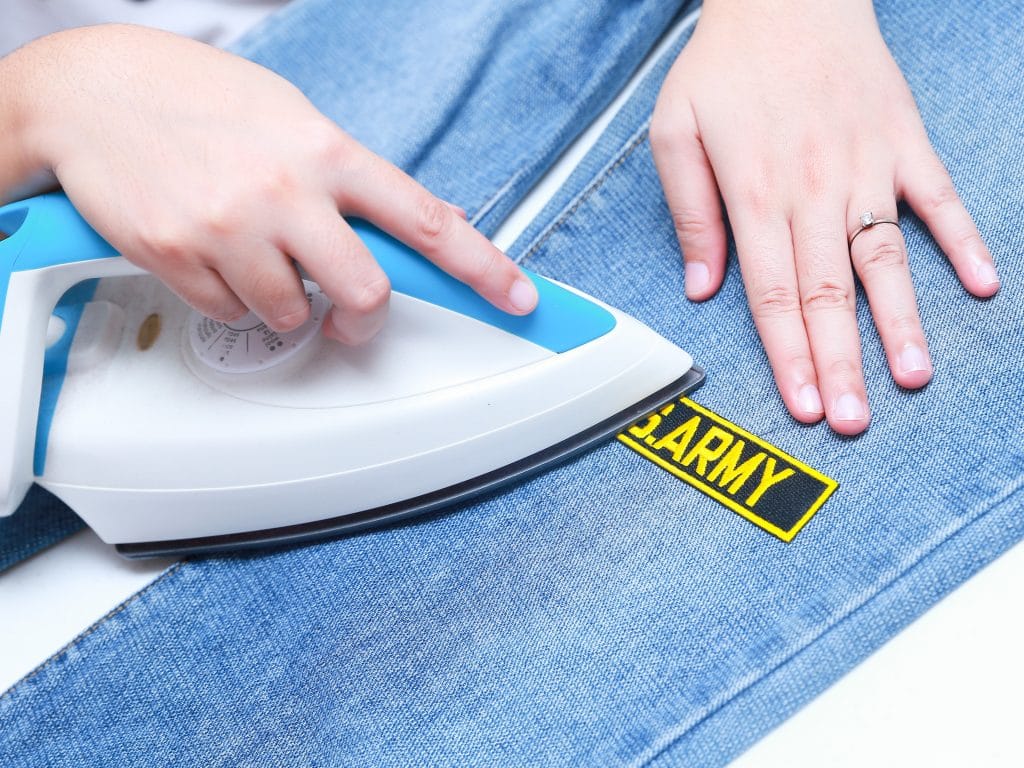
Iron on Patches with an Iron
Well, in case you have iron in your bag, you may follow the steps given below.
Get your iron ready
You need to set your iron on the highest heat setting to fix the patch properly. But first of all, you need to make sure that your clothes are made up of some cotton or polyester fabric.
If it’s nylon, rayon, or some rain jacket material it will damage your clothes. So you need to be very careful about that.
Position the patch
This step is really important; if you skip this one it will definitely ruin your hard work in the end. You need to choose the perfect position to iron-on your patch.
You can use the measuring tape to adjust the patch at your desirable place. You can also attach the patch with a temporary pin and check yourself in the mirror, if it works for you then make it permanent.
Pressing cloth
If you don’t want any damage to your clothes and patches; you can use pressing cloth to protect them. You just need to put some piece of cloth or even a handkerchief between your patch and iron.
Hold the iron for at least 20 to 30 seconds. After the patch gets attached to the cloth perfectly, let it cool down, and then wear your cloth.
Turnover and repeat
You can flip the side of your cloth inside out and repeat the process of pressing just to make sure that your patches securely get attached to the cloth. Don’t forget to cool it down after pressing the iron on it.
Now you can iron-on your patches easily at home, even with or without iron.
So, what are you waiting for? Go get your favorite patches ready!

