


The default macOS preferences are great, and most Mac users usually don’t think about any changes. However, there are some tips for working with iMac Pro that you might find helpful. In this article, we will share the tips for productive work on a Mac. Some of the options will undoubtedly be interesting even for experienced users.
Fast typing
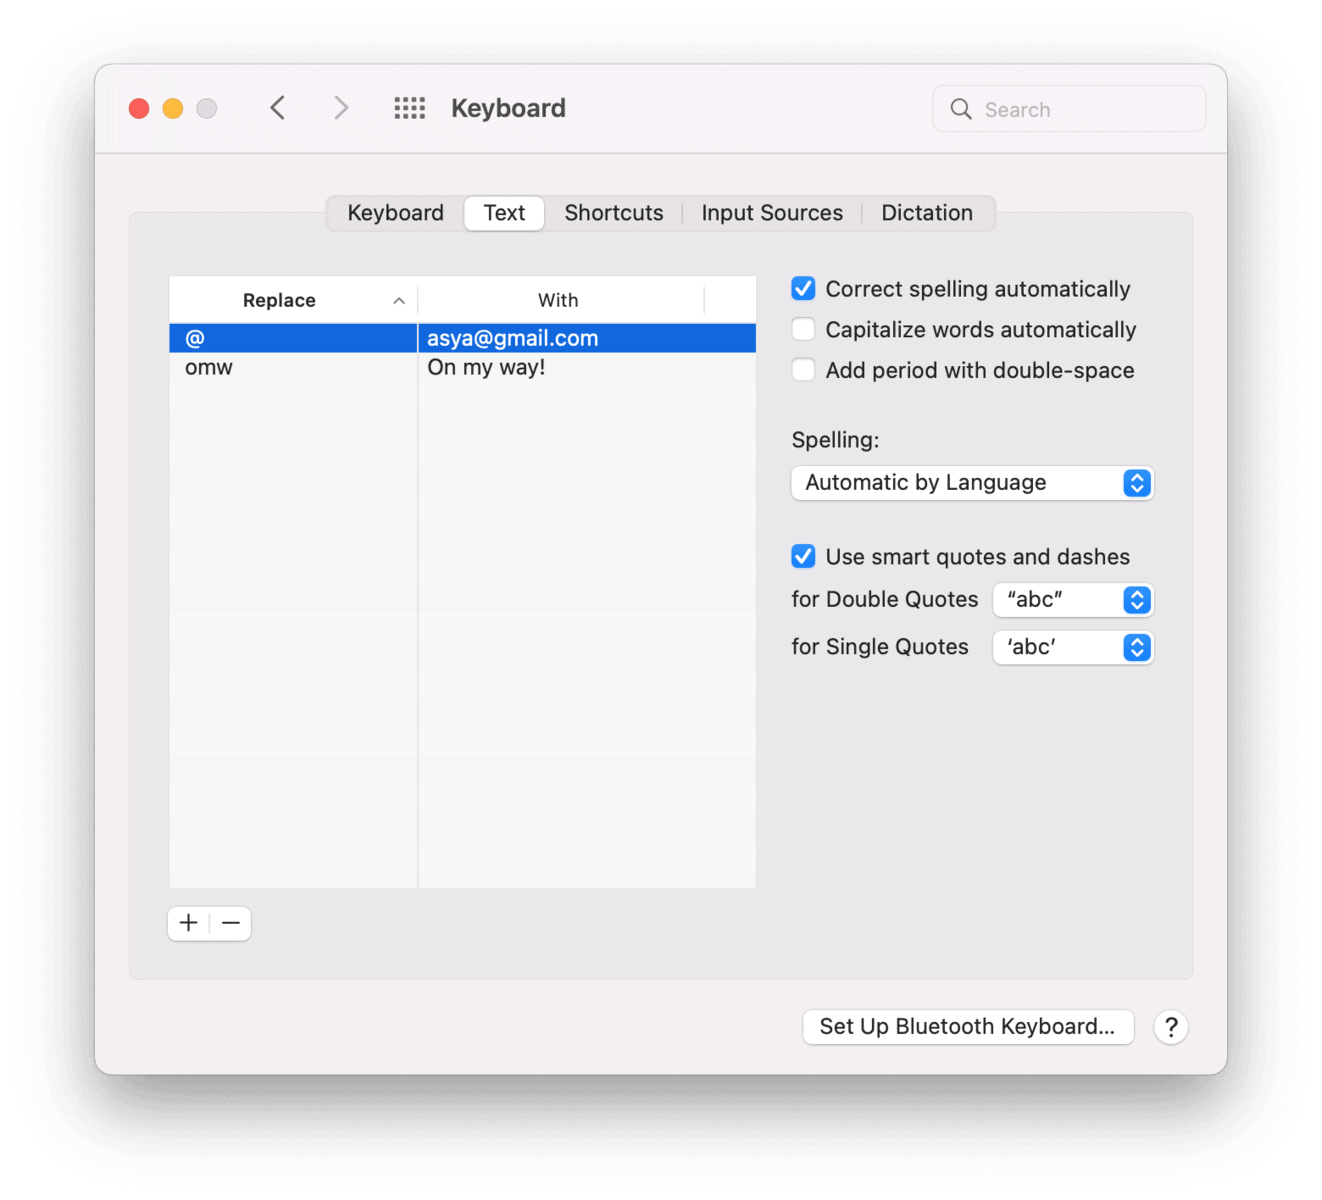
macOS has a handy abbreviation system that allows you to type certain words or expressions. To configure it, do the following:
- Go to System Preferences → Keyboard → Text.
- Click on “+” and add an abbreviation or sign for a word or commonly used expressions.
- Then this phrase will automatically appear when you type the character you have chosen. For example, you can use the @ sign to automatically type your personal email address, and @@ to type your business email address.

Dark mode
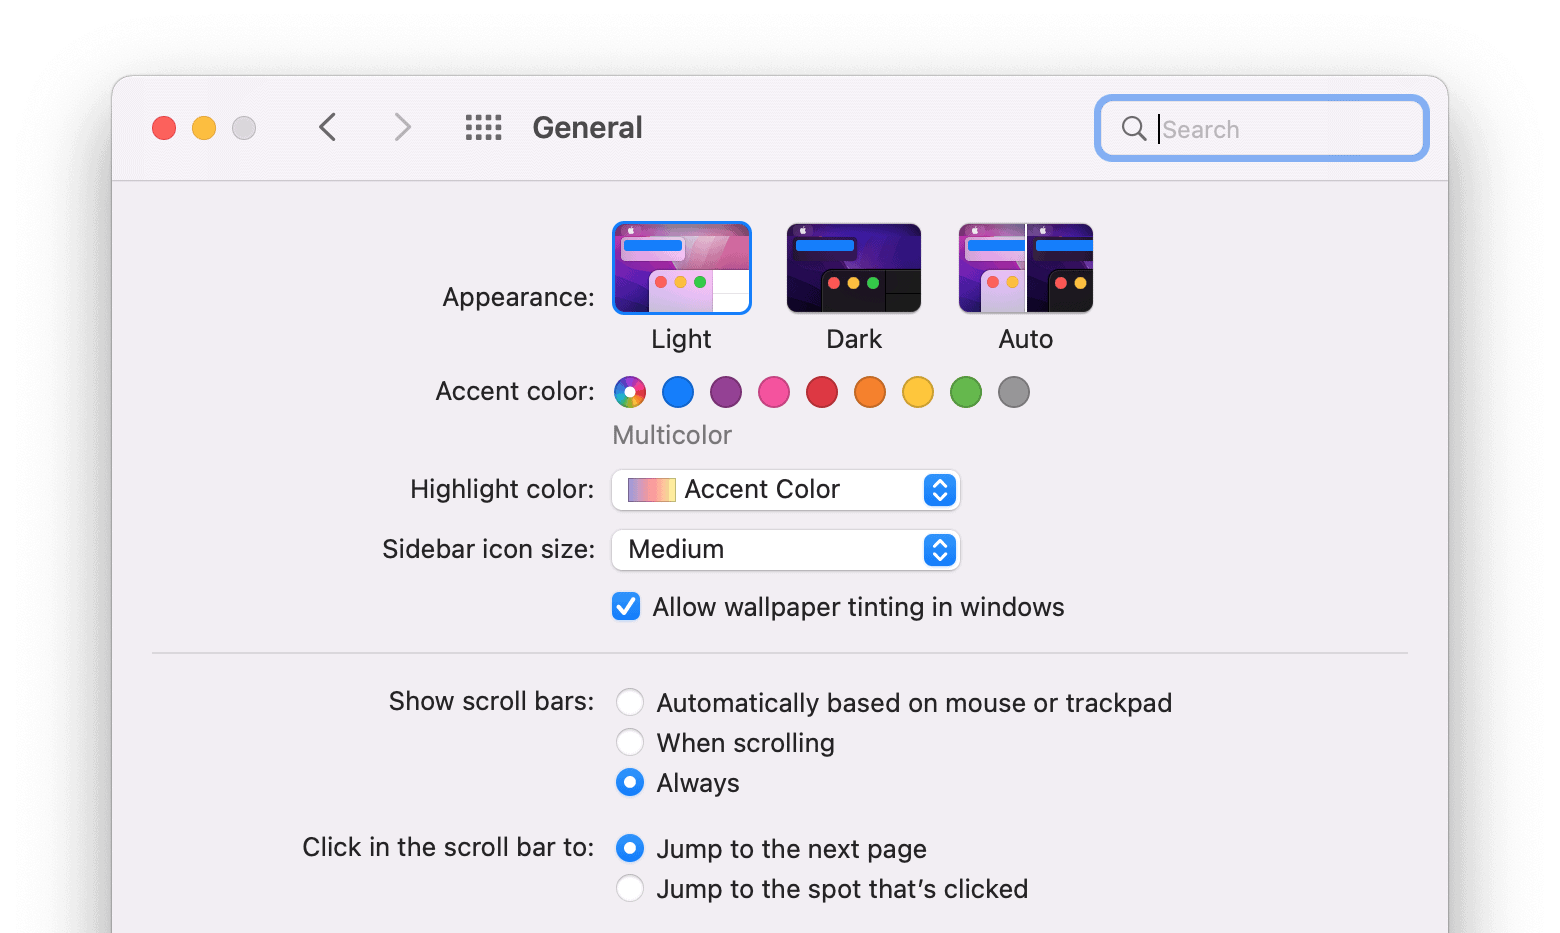
The dark mode is considered very comfortable to work at night time. Usually, you can clearly see the work area on the screen in dark mode, and unneeded elements are darkened and go into the background. To run Dark Mode on Mac, follow these steps:
- Open System Preferences.
- Click the General icon.
- Choose the Dark mode in the Appearance option line.
- Here you also can choose the Auto mode, which will automatically switch from dark to light modes, depending on the time of day.

Password-protected folders
If you want to hide some information, you can do this with a password-protected folder. By default, there is no option on macOS to set a password for a folder. However, you can use one trick with the default Apple application Disk Utility, and your important data will be transferred to a secure container.
- Open Disk Utility from the Applications folders or LaunchPad.
- Go to its menu bar, click File → New image → Image from a folder.
- In the window that appears, select a folder and click Choose.
- Select a location for your protected folder, an image format.
- Select the encryption type (128-bit or 256 bit) and create a password.
- Click on Save. The system will create an encrypted folder disk image. Once it’s done, you can delete the source folder.
- To open your password-protected folder, find the specified location of the image, double-click on the files, and enter your password.


Text size
If the text on any page in your browser seems to be very big or small and you find it inconvenient for reading, you can easily change the size of the text. In addition, browsers usually remember your preferences and show new pages with the same text size until you don’t clear the history.
To change the text size, use the following key combinations on Mac:
Command+(plus) – make text bigger
Command+(minus) – make text smaller
You can also zoom in or zoom out the text using the application’s menu. For this, click on View and select Zoom In (Out).
Mac maintenance
Mac computers are famous for their smooth performance and a long period of excellent work. However, every Mac can start working slowly over time, the apps can freeze, and generally, you can face some errors. This usually happens when Startup Disk is full on your Mac (you can learn more about Mac Startup Disk in this article). You should regularly remove junk files from your disk, such as caches, unused applications, leftovers of already deleted applications, duplicate files, and so on.
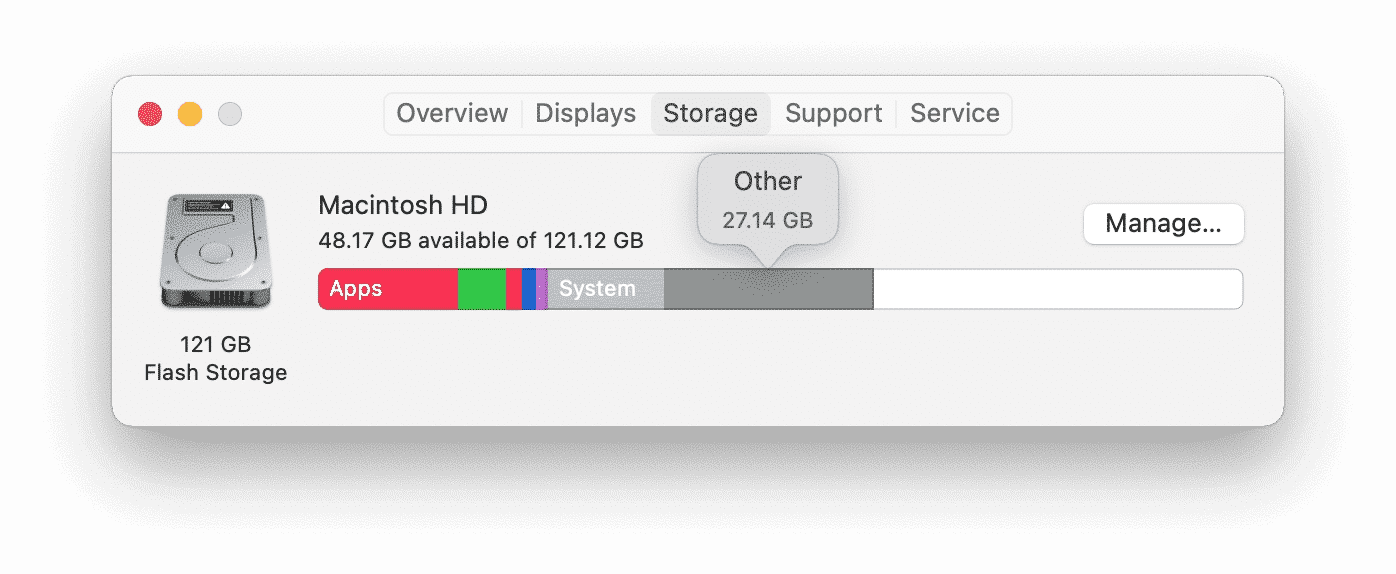
To check your Mac disk space usage, do the following:
- Click the “Apple” icon in the menu bar.
- Select “About this Mac.”
- Go to the Storage tab.
- See a bar chart showing your Mac storage usage.

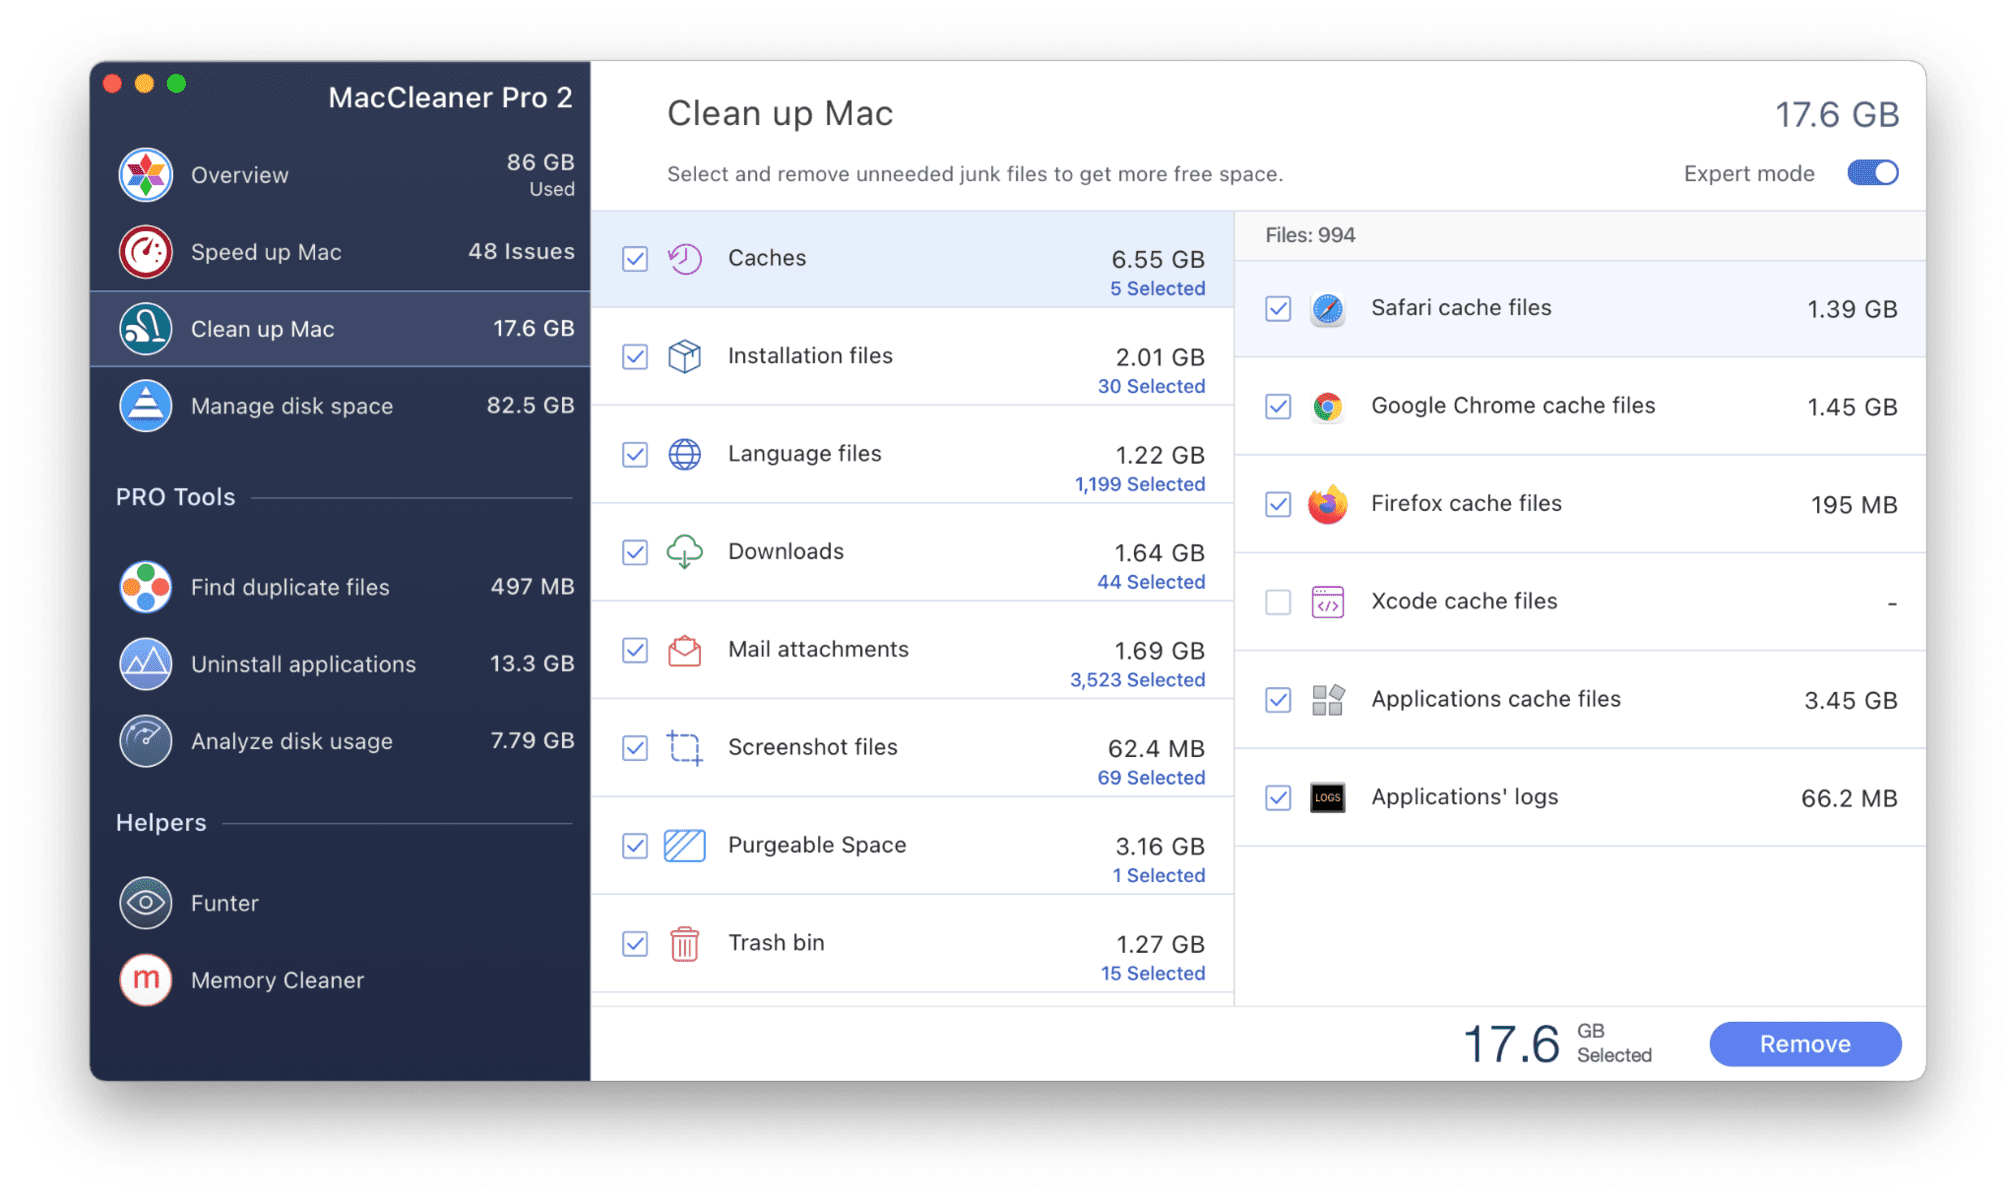
You can remove junk files from your Mac with special cleanup utilities, for example, with MacCleaner Pro from Nektony.
- Run MacCleaner Pro.
- Go to the cleanup section and enable the Expert mode.
- Select unneeded files (caches, installation files, files in Trash, and so on.)
- Click the Remove button.

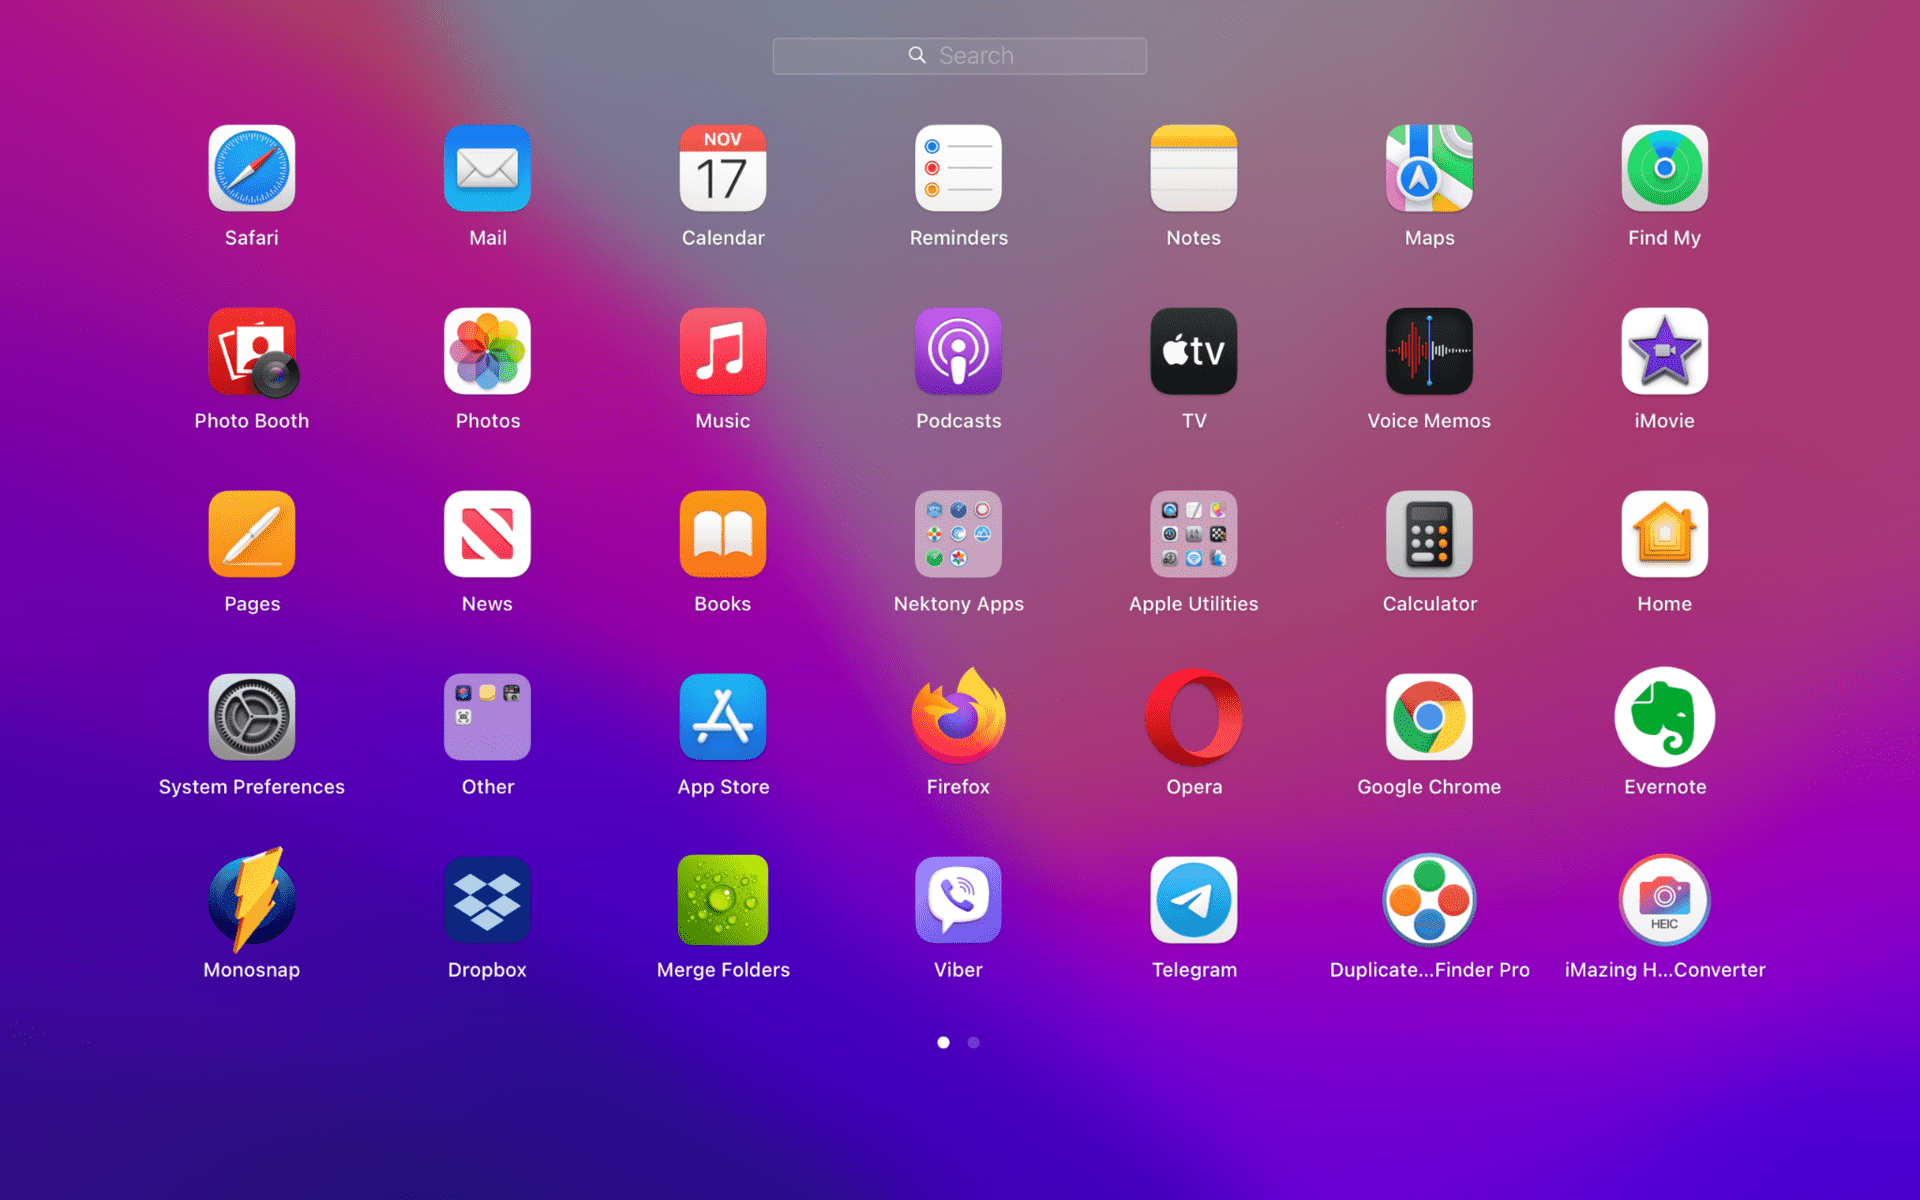
Launchpad and Dock panel
When you install applications on your Mac, they get displayed in Launchpad. This is a special menu that is like an iPhone or iPad home screen. Here you can create folders and group installed apps as you wish.
At the top of the Launchpad, you will find a search bar. With the search option, you can find the desired software. The icons of the apps can be dragged between several screens, dividing the software by areas of activity.

The Dock panel is a line on your screen where commonly used and launched applications are displayed. By default, the Dock panel is at the bottom of the screen. However, you can change its location in the System Preferences panel.


To add a program to the Dock panel, you need simply drag an icon from Launchpad. Another way to save apps in the Dock panel is to right-click on the running program, and select Options → Keep in Dock.
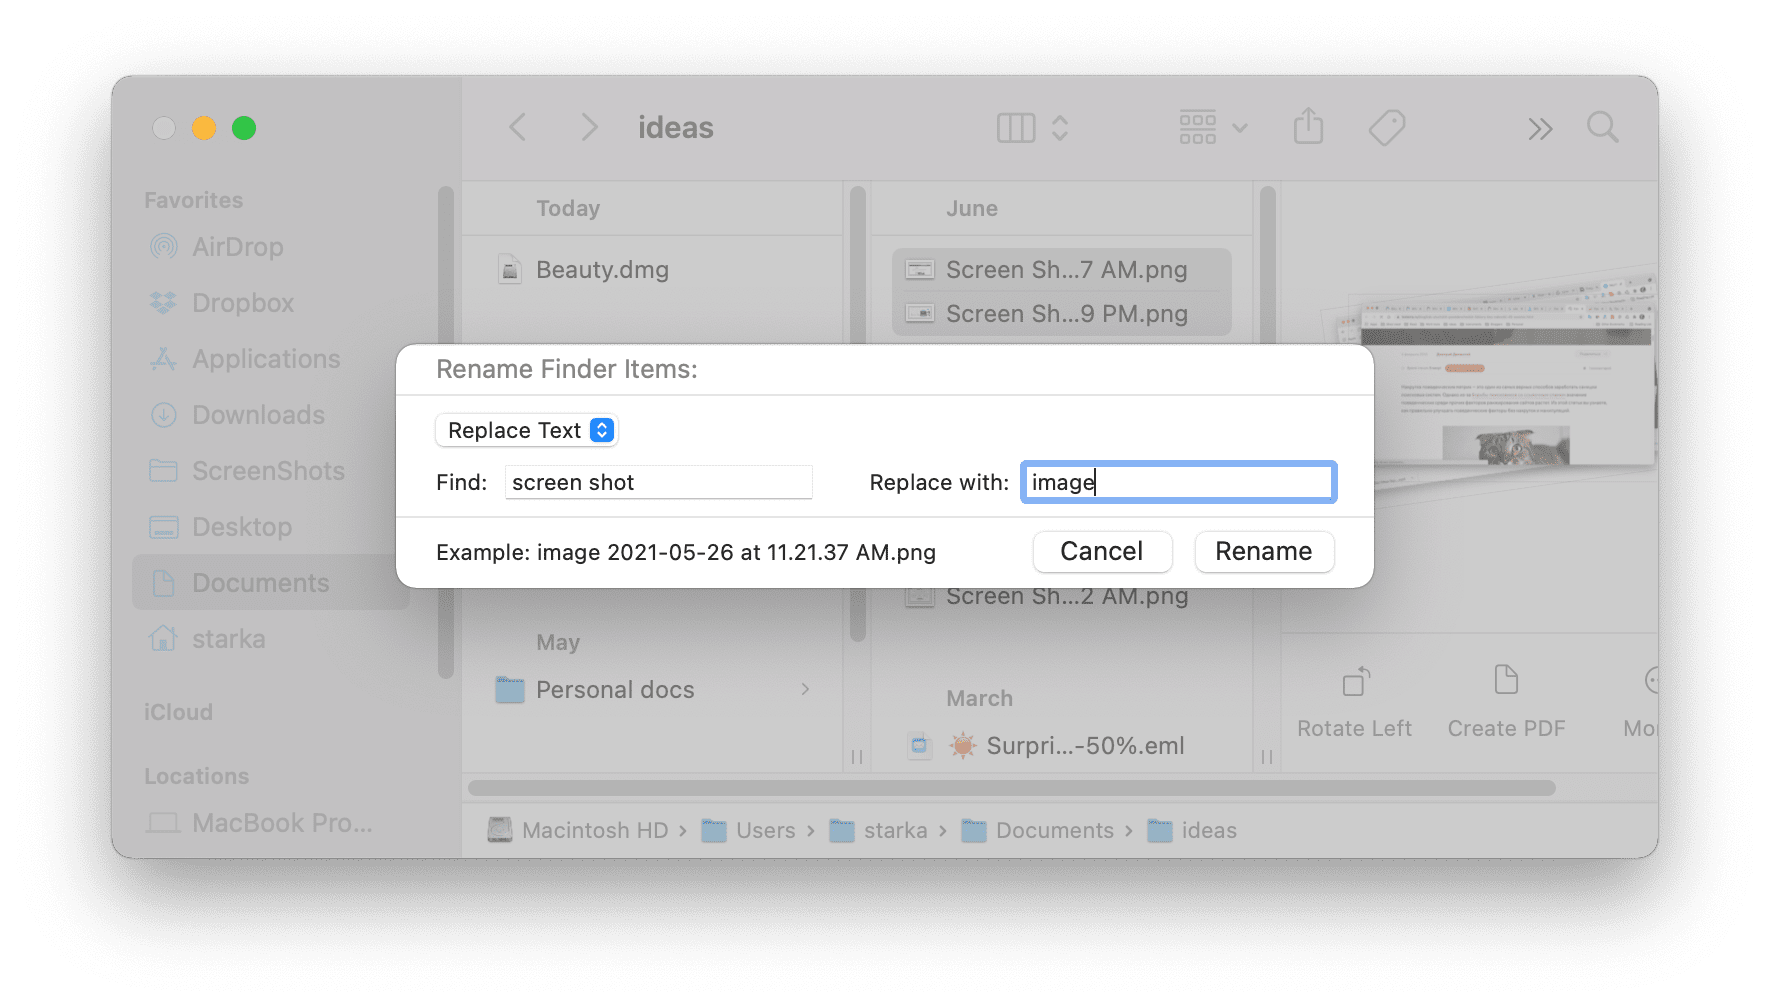
Renaming multiple files
If you need to rename multiple files in your folders, that’s easy. Just follow the steps below:
- Open Finder and select what you want to rename.
- Right-click on the selected items → click Rename…
- In the window that appears, type what text you want to replace and a new word or phrase for their names.
- Click the Rename button. Your select files will automatically be renamed.

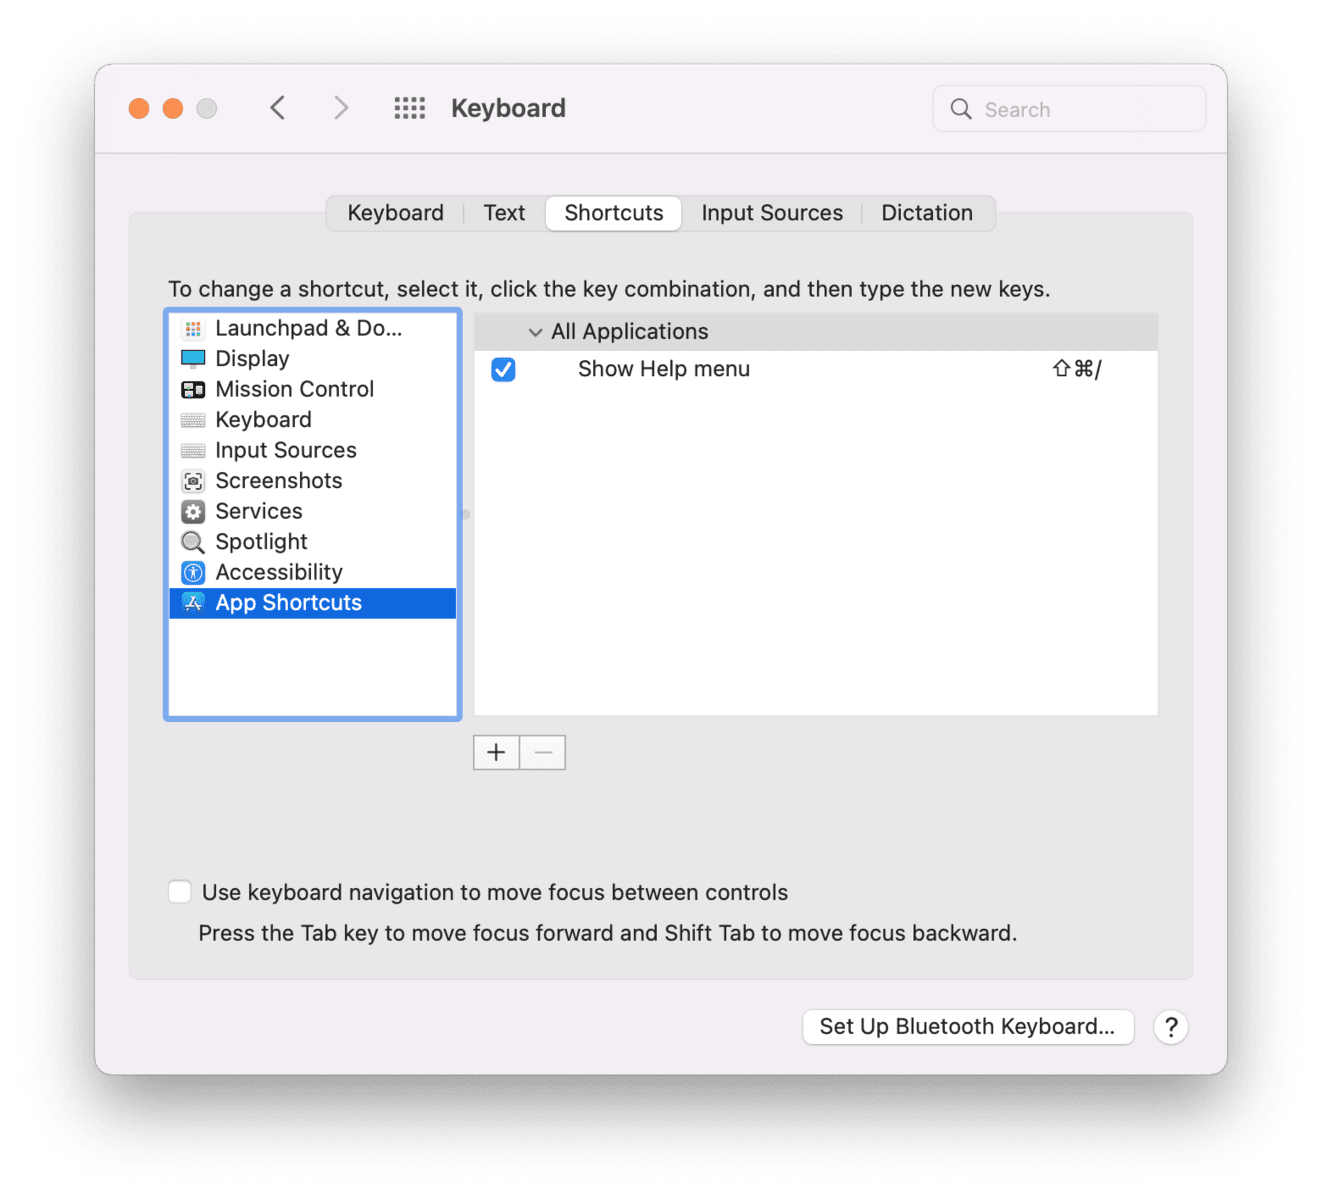
Hotkeys
On Mac, you can create your own keyboard shortcuts for different programs and tasks.
Here is how to create new shortcuts on Mac:
- Go to System Preferences → Keyboard → Keyboard Shortcuts.
- For system commands, select a shortcut, click the key combination, and provide the new key for calling this action.
If you want to add hotkeys for your applications, do the following:
- In the same window, select App Shortcuts.
- Click the “+” button in the sidebar.
- Enter the menu command name for the desired program.
- Enter the keyboard shortcut and click Add.

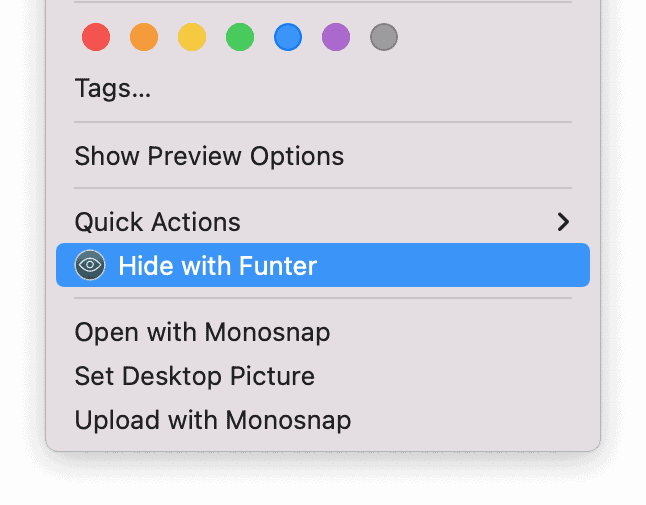
Hiding items on Mac
By default, Mac hides all system support files. Service files are hidden to protect them from removal. You might want to hide some of your personal files and folders. You can do this using a free utility called Funter. To get started, do the following:
- Launch Funter.
- In the toolbar, click the Funter’s icon → open its Preferences.
- Enable the “Finder integration” option.
- Right-click any file or folder in Finder, you want to hide.
- In the appeared menu, click “Hide with Funter.”

Of course, you can use Funter to unhide your hidden files. Also, with Funter, you can easily search for hidden files by their names. That’s it for now! We hope that these tips will help you make your workflow better with a Mac. Configuring your preferences will take a little time. However, it will allow you to have a more enjoyable experience with your computer.

