


It is understandable that a watermark is a method used by most video editing apps to take credit for the video and let everyone know they helped you edit it. It is also their way to promote their brand so more people will use them.
On the other hand, these watermarks can have many disadvantages such as being an obvious distraction making viewers lose their attention on the actual video, and being unattractive to share on social media since most people will find it unappealing,
Don’t worry, in this article, we will be sharing with your the very effective way of removing watermarks, the MarkGo watermark remover, and more tips on doing it for better quality videos.


Remove Watermark from Video with MarkGo
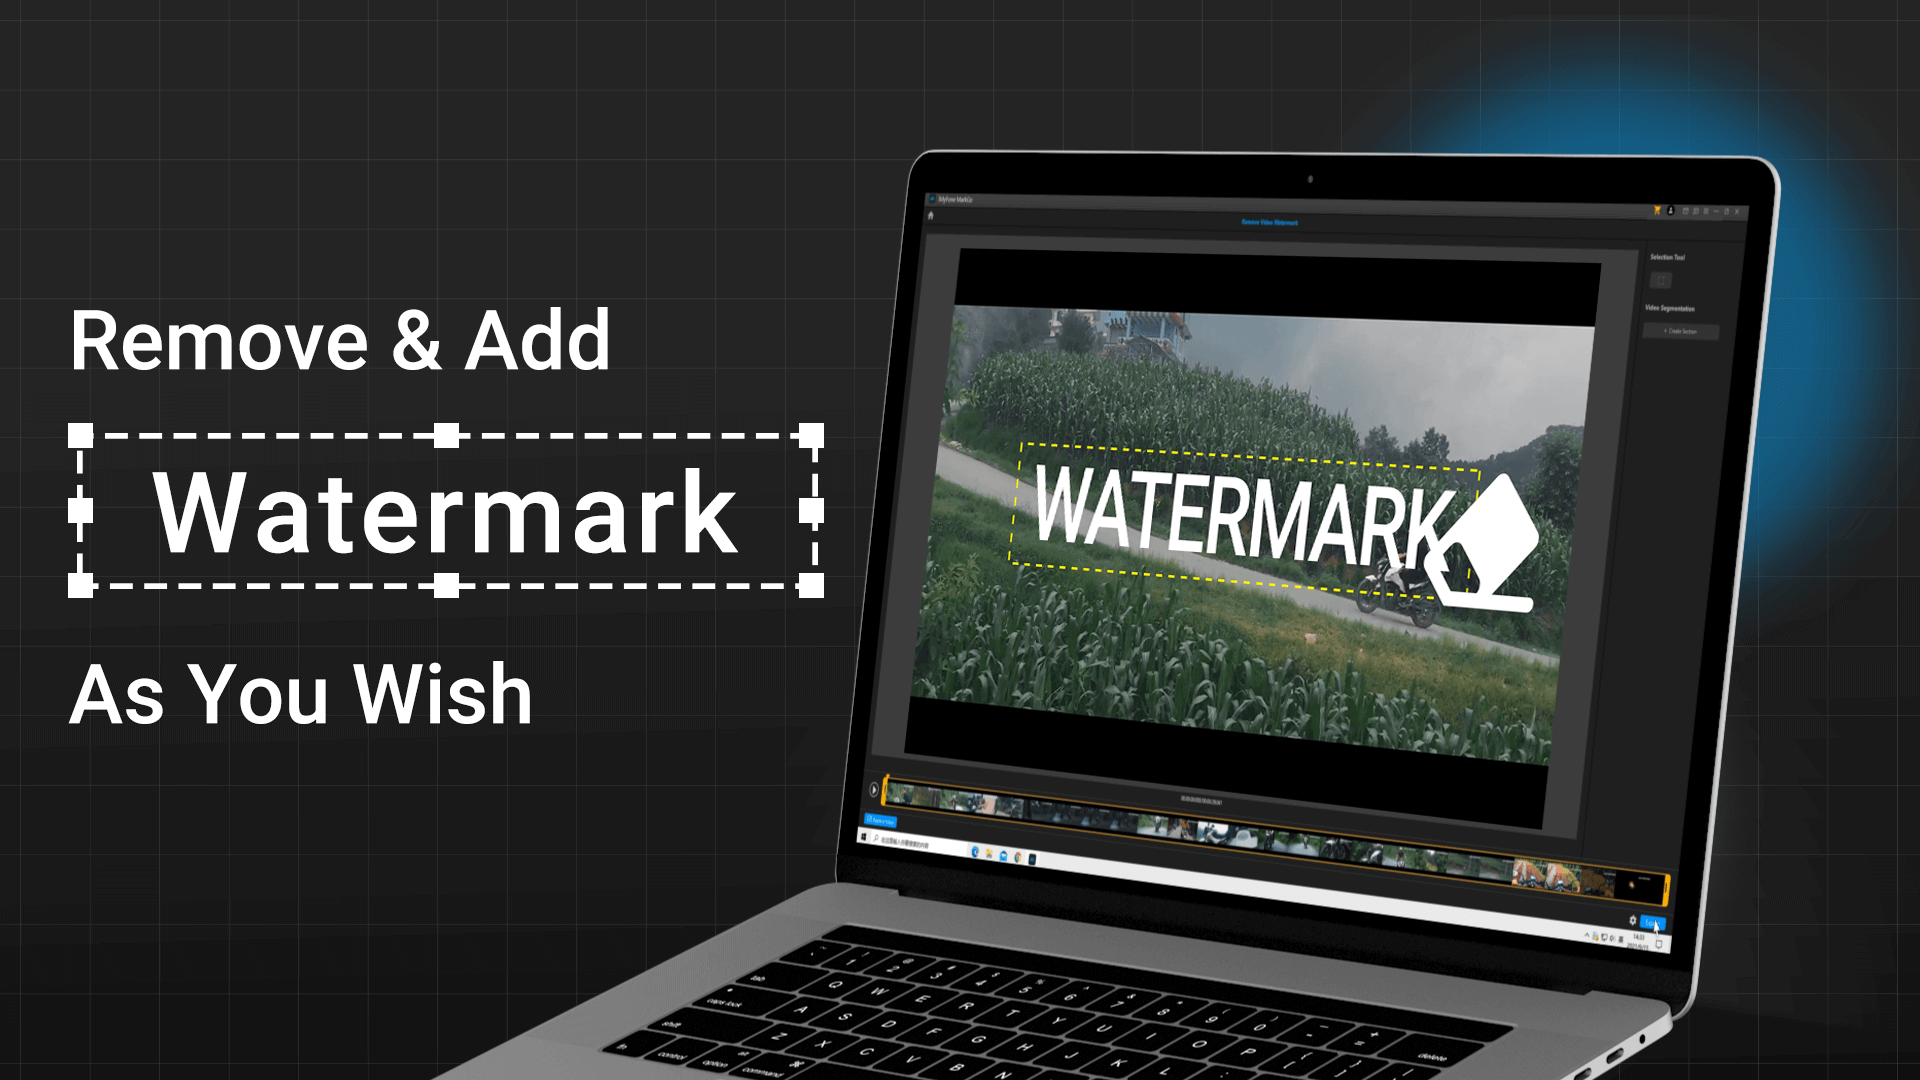
With MarkGo, you can easily remove a watermark from a video or add customized watermarks in your image or videos. There are many desktop watermark-removing software in the market, but MarkGo is definitely your best option. It can remove text, logo, person, or any object in the video you want to publish.
With this excellent tool, removing unwanted parts of any image or video is like a walk in the park. This process can be done in just a few steps with MarkGo.
- First, you need to download and install the software on your computer.
- Second, just open the software and enter the mode “Remove Video Watermark”.
- Third, just import the video that has the watermark that you want to remove.
- Fourth and last, select the watermark, then remove it. Then export it to get the best quality video you deserve.
Actually, with this tool, you can remove watermarks in three ways:
-
Color Filling
This is done by covering the area of the watermark with the color surrounding it.
-
Matte Filling
This is done by covering the selected area then removing it.
-
Gaussian Blur
This is done by smoothly blurring to remove the watermark in the video.
Very easy, right? There’s more! You can download the software for free anytime for your convenience.
Removing watermarks has never been this fast and easy. You can read on the website why most people consider it as number 1. Some of the awesome reviews are:
- They love it due to its ease of use. With a few clicks, you can easily remove unwanted objects, especially watermarks, in your videos. It truly is perfect for beginners.
- People raved about it for its high-quality watermark removal. After removing the watermark, it’s as if it was never there.
- The exported videos have excellent quality. You would love the results because the software did not ruin the quality of the video.
Running a business and promoting it has never been this easy with watermark-removing software.
Tips About Removing Watermark From Video
Getting rid of watermarks should be done flawlessly and should still have high-quality end-result. Removing watermarks from your videos with a software is an easy and quick process. You don’t need to be an expert editor to perform these simple editing operations. All you have to do is choose a method that perfectly suits your needs and complete a simple action that is very simple to comprehend. Here are some tips or editing procedures to remove a watermark from a video.
Method 1. Removing A Watermark by Cropping The Video
This method will allow you to eliminate the watermark from your video entirely, but the cropping method will also erase a part of the wide shot as the watermark. Unfortunately, cropping the area where the watermark is placed isn’t possible in any editor. If you wish to crop the video, be ready to lose a particular amount of the image. Once the footage you need to crop is found on the video track in the app or software, right-click on the clip to select Crop and Zoom.
The crop window that permits you to crop video manually or use automatic aspect ratios will show on the screen. From here, you can change the position of the corners of the cropping rectangle by moving it as much as necessary to exclude the watermark from the image frame. You can let the aspect ratio be as it is or modify it based on your demands. Click OK to finish the cropping effect, and you have happily removed a watermark from your video.
There is a con, though. As said before, eliminating the watermark by cropping the video will also remove some frames. And this method only goes smoothly when the watermark is found at the corner of the video.
Method 2. Watermark Replacement
Cropping the watermark and not losing a part of the frame simply isn’t possible, so replacing the existing watermark with the one that fits your needs is a method worth taking. To do this, you need to import the new logo first using the Import Media feature in the software. Then put it on the timeline. Next, fix the duration of the new logo file to be as long as the original file, so the first watermark stays covered during the whole video.
The tricky part of this method is that the new logo file must be the exact same size to coat the original watermark.

Method 3. Watermark Blurring
Although this method will not eliminate the watermark from your video, it can still be used to make it less noticeable. With this method, your viewers can still focus on the video itself and not on the watermark.
Conclusion
It is commonly known that people are trying their hardest to produce the best possible content for their brands and businesses. Therefore, people would avoid having watermarks in their videos because this will make them hard to upload them.
Using the methods discussed and shared above to remove the watermark, the people behind the software are hopeful that you can do these easily and quickly. Just use the perfect method, and you’ll surely have a better quality video.
Lastly, choosing the right software or app, like MarkGo will definitely save the day!

