


This step-by-step guide will teach you how to install your Arlo Essential Spotlight Camera so you can start monitoring your home or business right away. The entire process should take, at most, a few minutes.
Before this procedure, make sure you have the following items:
- Arlo Essential Spotlight Camera
- Mounting bracket and screws
- Power adapter and cable
- Drill and bit (if needed)
Once you have everything, follow these simple steps:
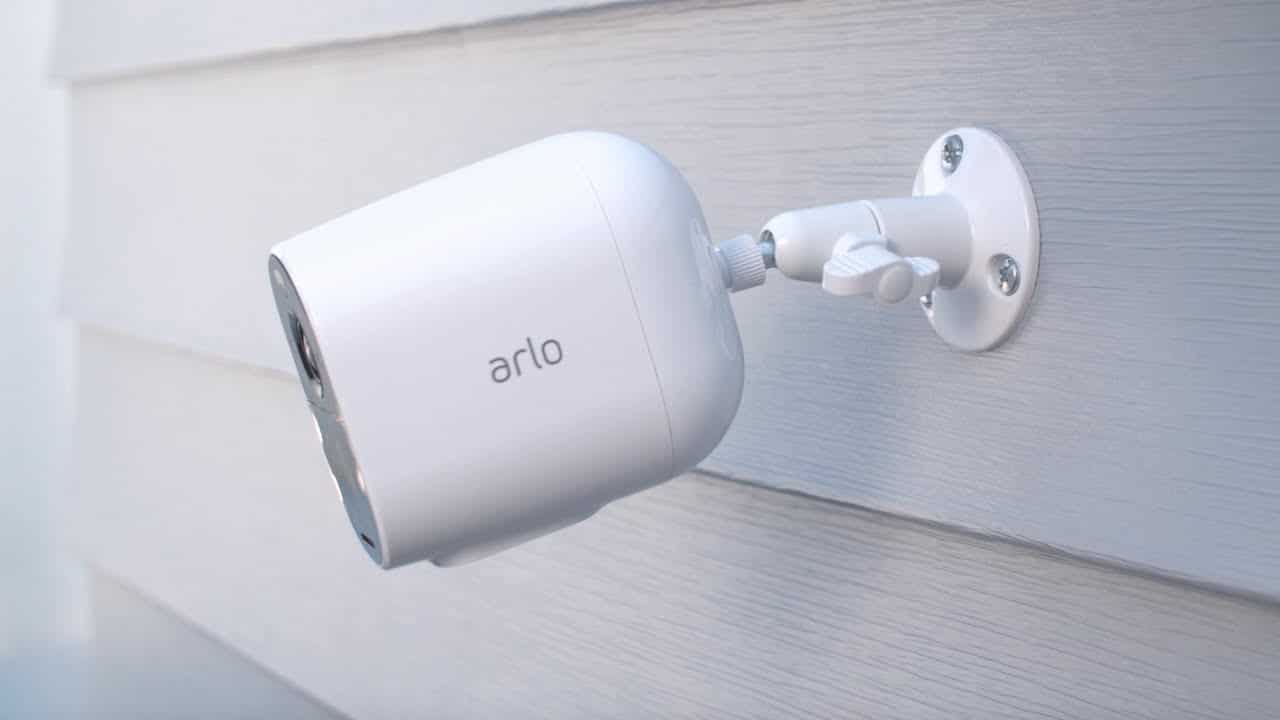
- Choose the location for your camera. Keep in mind that it will need to be near an outlet.
- Use the template to mark the four holes for the mounting bracket.
- If needed, drill pilot holes into the marked spots.
- Screw in the mounting bracket using the provided screws.


Step 1 Get the Mobile App
Check out the quick and easy way to install your new Arlo Essential Spotlight Camera. You’ll be up with simple steps in no time.
- First, you have the latest version of the Arlo app installed on your mobile device. Once the app is open on your mobile, tap on the “Add Device” option at the bottom of the screen.
- Next, select “Spotlight Camera” from the list of devices. Follow all the instructions to complete the connection process. That’s it! Your camera is now ready to use.
Step 2 Create your Arlo account
If you own a smartphone, there’s no excuse not to have an Arlo account. The Arlo app is user-friendly, the camera quality is excellent, and the monthly subscription fee is reasonable. Plus, you can view your camera’s live feed from anywhere in the world. Here’s how to create an Arlo account on your mobile device:
- First, Download the Arlo app from the App Store or Google Play.
- Now, Open the app and tap Sign Up.
- Enter your name and email address, and create a password.
- Tap Sign Up.
- Follow the prompts to complete the setup of your account and camera(s).
Step 3 Awake your Arlo camera
If you have an Arlo camera, you may wonder how to wake it up. Depending on your specific model, there are a few different ways to do this.
- One way to wake up your Arlo camera is to press the power button. It should be located on the back or bottom of the camera. If your camera does not have a power button, try pressing and holding the reset button for a few seconds.
- Another way to wake up your Arlo camera is to connect it to a power source. This can be done by plugging it into an outlet or connecting it to a power bank. Once the camera is connected to a power source, it should turn on automatically.
- If your Arlo camera still needs to turn on, there is no need to take stress because you may need to perform a factory reset.
Step 4 Connect Arlo to the internet
Arlo is a popular home security camera system with many features to keep your home safe. One of Arlo’s most important features is its ability to connect to the internet. This allows you to receive updates and alerts from your camera system. Here are some instructions on how to connect Arlo to the internet:
- Choose a location for your base station. The base station is the central hub for your Arlo cameras and needs to be connected to your router. Please place it in a central location near your router for optimal performance.
- Connect the base station to your router using an Ethernet cable. Once it is connected, power on the base station.
- Download and install the Arlo app on your mobile device.

Step 5 Connect Arlo’s camera to the app
Assuming you would like some below points:
- Arlo cameras are a great way to keep an eye on office or business
- To use your Arlo camera, you will need to connect it to the Arlo app
Step 6 Mount your camera
- Open the Arlo app and log in with your credentials.
- Once signed in, tap on the “Add Device” button.
- Select your Arlo camera from the list of available devices and follow all on-screen instructions to complete our setup process. That’s it! Now you can start using your Arlo camera.

